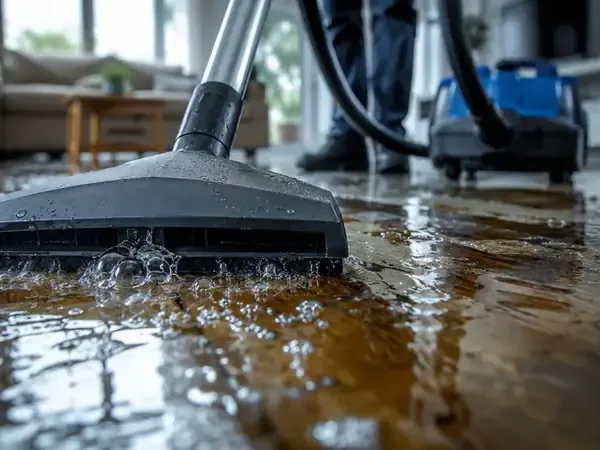
Floodwater can leave silt along a doorway while soaking the floor layers beneath it. Inside a Salado home, cleanup follows that path from the entry point through wet rooms, damaged finishes and belongings. Containment and cleaning come before drying the materials that remain.
Key takeaways
- Restricted access keeps flood debris from being tracked into clean rooms.
- Visible water marks and contacted materials determine the indoor cleanup.
- Actual outdoor entry starts with Category 3 contamination controls.
- Room photographs and item lists preserve the condition of wet belongings before removal.
- Photos and material readings connect the reported event with cleanup work.
Start at the doorway and follow the water
The first inspection records where water entered, how high it reached and which rooms connect to that opening. Debris caught at a threshold and silt along baseboards can help identify the route after the water level drops.
Salado Creek runs through the village. For property flood-zone questions, the Village of Salado provides a floodplain map and directs residents to the FEMA Flood Map Service Center.
Inside the home, the cleanup team checks each wet floor and wall section before setting the work boundary.
- Photograph doorways and water marks from a safe, dry position.
- Keep people and pets clear of wet rooms.
- Leave contaminated belongings in place until the cleanup route is organized.
Checking the floor and lower walls
Cleanup begins with a building specific path: the opening water crossed, the highest contact, the rooms reached and the materials affected. That evidence determines the work boundary.
The local flood cleanup page addresses outdoor water. The local water extraction page covers liquid removal while readings track what remains beneath surfaces.
- Photograph the entry before temporary repair changes it.
- Mark water and debris boundaries.
- Check flooring seams and lower wall cavities.
- Record dry comparison points.
Why source classification matters
Outdoor water travels across soil and can carry contamination, so it begins as Category 3. A sanitary supply release starts differently, although time and contacted materials may change conditions.
Texas information also distinguishes sudden burst pipe damage from outdoor flood damage. The insurer applies the policy, while restoration personnel document source observations without deciding coverage.
- Outdoor entry: containment and cleaning first.
- Supply release: plumbing control and material mapping.
- Sewage: Category 3 removal and treatment.
Clear water can still have outdoor contact
Color does not reveal the route. Entry evidence and the source history control the initial category rather than visual appearance.
How the Category 3 sequence works
Occupants remain outside the affected zone. Workers establish protected routes, extract contaminated liquid and remove porous material that cannot be treated reliably.
Retained concrete, framing and durable finishes receive physical cleaning followed by labeled treatment. Drying equipment begins only after contamination steps are complete.
- Contain foot traffic and contents movement.
- Remove absorbent materials by confirmed contact.
- Record product application and dwell time.
- Dry retained construction from fixed readings.
Protecting belongings while rooms are opened
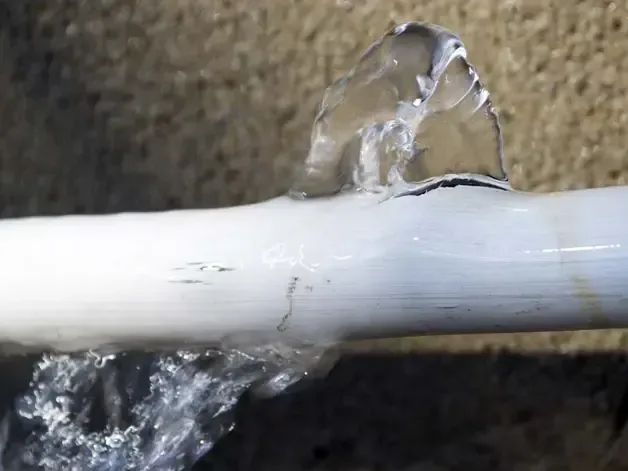
Furniture feet, boxes and low shelves can remain wet after standing water is removed. Each group of belongings is photographed where it stood, then labeled for cleaning, evaluation or disposal. Dry items move along a protected route to a clean storage area.
Doors between affected and unaffected rooms help organize the work. Containment protects the clean side while crews remove wet finishes and carry out debris.
Equipment, bags and tools stay within the assigned routes, and the room record tracks anything moved before the floor or wall is opened.
- Keep a room-by-room contents list.
- Label the destination of moved belongings.
- Separate contaminated debris from items awaiting cleaning.
Keeping the cleanup record organized
A property file may contain the map result, weather documentation, photographs, material readings and cleaning records. Each item supports a different part of the story.
The main flood cleanup page explains the general service, while the village restoration hub helps distinguish roof, plumbing, sewage and outdoor sources.
- Save the first photographs with the discovery date.
- Keep entry photos with the source notes.
- Connect removal decisions to contacted materials.
- Close retained assemblies from measured goals.
Drying the layers beneath the visible surface
A floor that looks clear after extraction can still hold moisture below the finish. Carpet backing, padding, underlayment and the subfloor are checked separately.
The team identifies which layers can be cleaned and dried, which have lost strength and which need removal to reach contaminated material underneath.
Lower walls receive the same careful inspection. Wet gypsum, insulation and framing respond differently, so opening decisions follow the condition of each layer.
Photographs taken during access show the owner why a section was removed and what construction remains for cleaning and drying.
Once loose soil is removed and retained surfaces are cleaned and treated, equipment can address moisture in the remaining structure. Air movers reach exposed surfaces while dehumidifiers collect vapor from the room.
Technicians compare readings at the same locations over successive visits and adjust the setup where moisture remains elevated.
Room transitions deserve particular attention. Water can travel under a doorway, behind a baseboard or beneath a continuous floor finish into an adjoining space.
A labeled room sketch keeps those connections visible after debris is removed. Fixed measurement points make it easier to compare progress in the entry room with progress farther along the water path.
Technicians also record temperature, humidity and equipment changes so a slow area can be investigated. A cavity that remains wet may need more access, while another part of the room may already have reached its drying goal.
The owner receives updates on these differences, including any additional removal proposed. Before finish work begins, the closing record identifies the retained materials, their final readings and the remaining repairs.
That record helps the next contractor prepare the correct surfaces and avoids covering a damp layer with fresh flooring or paint.
Salado homes and village properties along Main Street and Royal Street can have different room uses and finish layouts. A walkthrough gives the team access to storage spaces, fitted furniture and adjoining rooms that may conceal the continuing water path.
- Check finish, backing and substrate as separate layers.
- Record concealed conditions as damaged finishes are removed.
- Repeat readings at the same marked locations.
- Share the final moisture record with the finish contractor.
Source photographs and the claim file
Exterior water marks, debris at an opening and interior contact photographs belong together in the claim file. A room sketch connects those images with material removal and cleaning records. The owner can use that sequence when discussing the work with the insurer.
- Photograph the entry opening.
- Keep removal notes by room.
- Save cleaning and drying records with the original images.